How to draw a hedgehog — easy step by step drawing ideas
If you're collecting hedgehog drawing ideas for a rainy afternoon, you've just found the easiest one on the internet. Learning how to draw a hedgehog is one of my favorite lessons to teach, because it comes with a built-in secret: the spiky back hides every wobbly line. Kids who are nervous about "messing up" discover that with a hedgehog, there is almost no such thing.
Here's my promise: by the end of this tutorial you'll have a genuinely adorable hedgehog built from one egg shape, one pointy snout and a zigzag blanket of quills. No art degree, no special supplies, no pressure. We go one small step at a time, and every step builds gently on the last one.
I've walked five-year-olds through this exact sequence, and I've walked their grandparents through it too. Everyone walks away with a hedgehog they want to stick on the fridge. So sharpen a pencil, find any piece of paper, and let's draw the roundest, friendliest hedgehog you've ever seen.
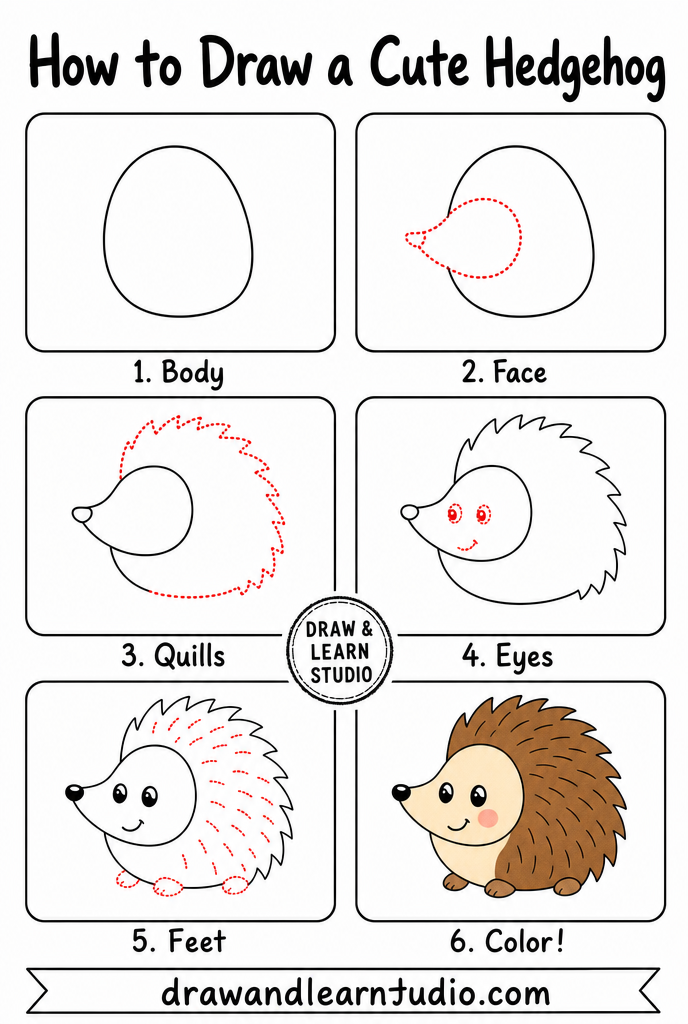
⏱️ Time: 15–20 minutes
⭐ Difficulty: beginner — great for kids 5+
✏️ Materials: pencil, eraser, paper, brown and cream crayons or markers
Hedgehog drawing ideas: the 6 easy steps
Step 1 — Draw the body
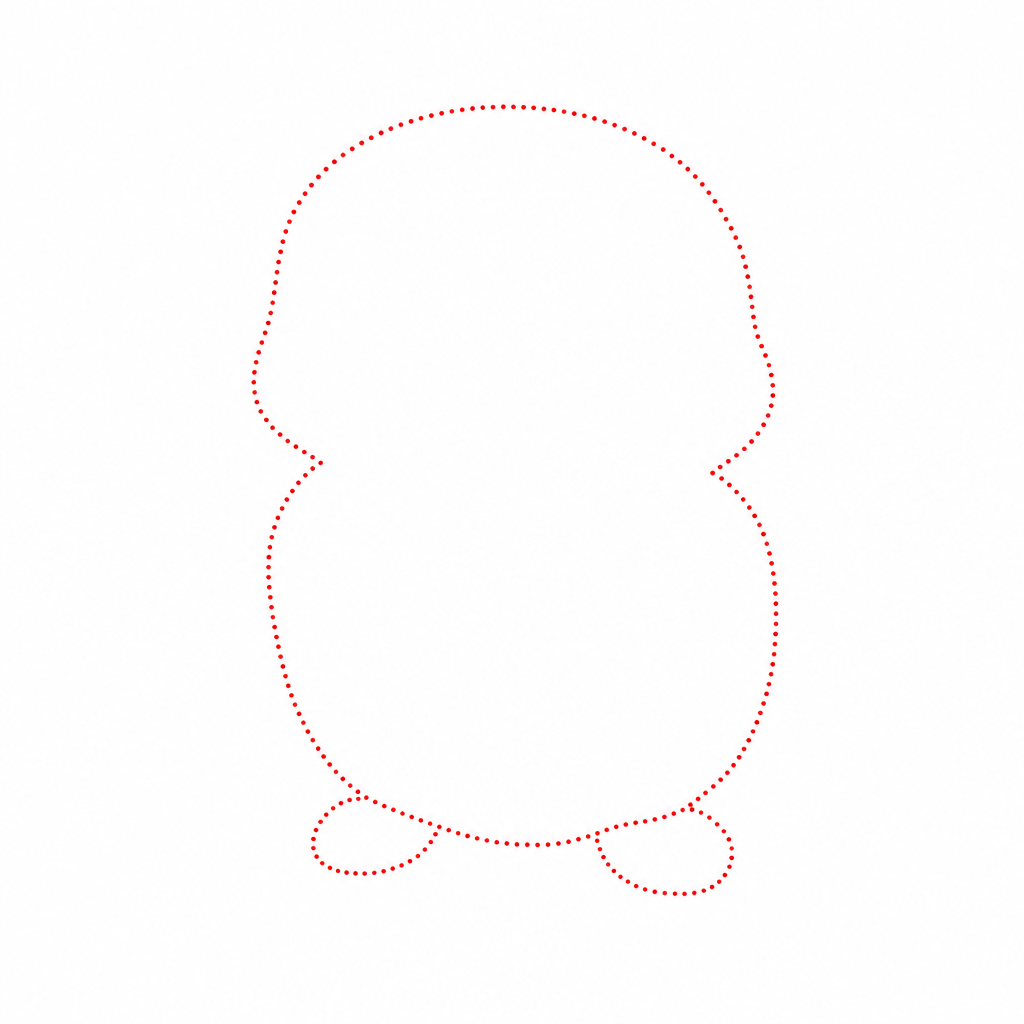
Start with a big sideways egg shape in the middle of your paper — rounder at the back, slightly narrower at the front where the face will go. Press lightly! These first lines are scaffolding, and some of them will disappear under the quills later. A wobbly egg is completely fine; hedgehogs are wobbly little creatures by nature.
Make the egg bigger than feels natural. Hedgehogs are basically a ball of fluff with a tiny face attached, so the more generous the body, the cuter the result. Leave a bit of empty paper below the egg for the feet, and a little room on the left or right for the snout.
Step 2 — Add the face
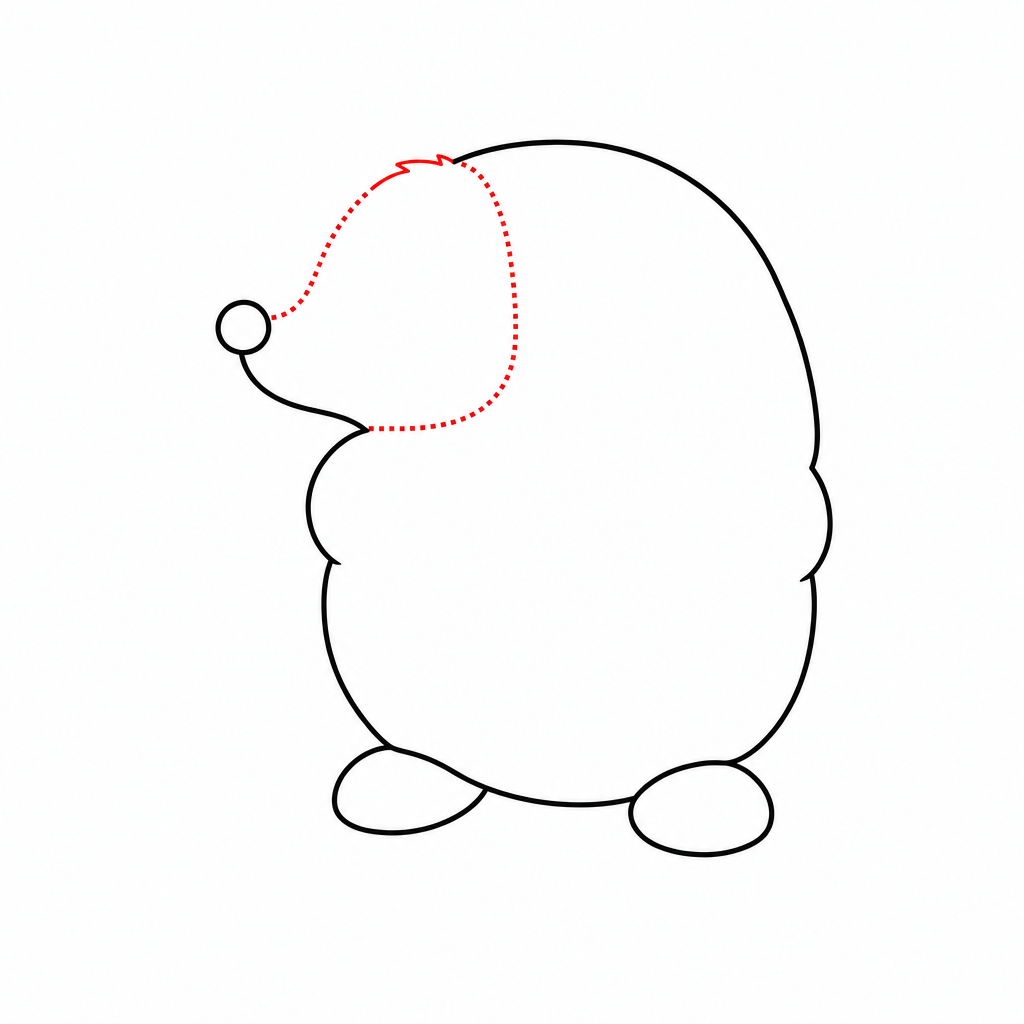
On the front end of the egg, draw a small pointed snout — like a little party hat tipped on its side. The snout should take up only the bottom front corner of the egg; the rest of the front stays round for the forehead and cheek. At the very tip, add a small round nose, like a blueberry balanced on the point.
Then draw a soft curved line from the top of the snout up over the head. This line separates the hedgehog's smooth face from the spiky back, and it's the most important line in the whole drawing — everything above and behind it will become quills, everything in front stays soft and fuzzy.
Step 3 — Outline the quills
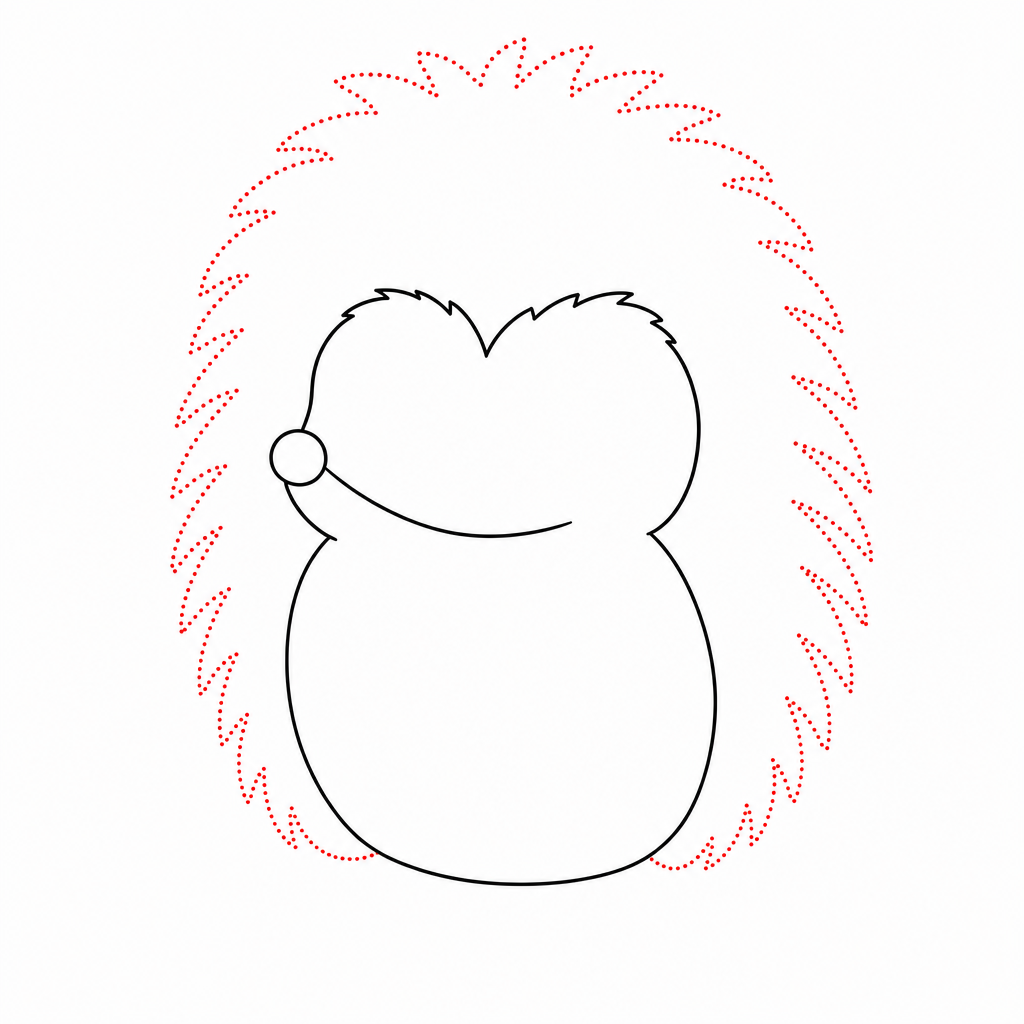
Now the fun part. Starting where the face line meets the top of the head, draw a zigzag outline that follows the egg shape all the way over the back and down to the bottom. Short, rounded zigzag bumps are the secret — think "cozy blanket of triangles," not "explosion of needles." Long sharp spikes turn your hedgehog into a porcupine with an attitude.
Don't worry about making the bumps even. Real hedgehog quills go every which way, so an irregular zigzag actually looks more natural than a perfect one. When you finish, you can gently erase the original egg line underneath the zigzag — the quills are the new outline now.
Step 4 — Give it a face
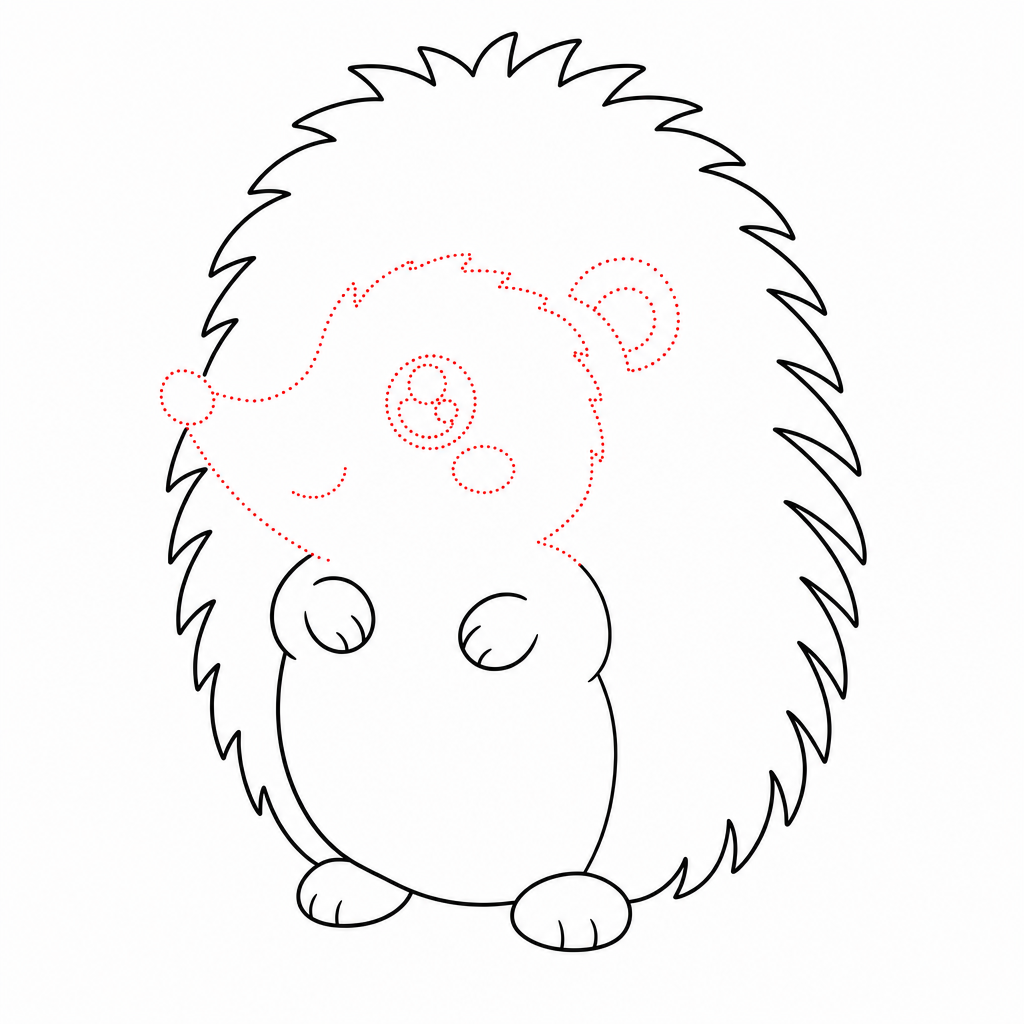
Time to bring your hedgehog to life. Draw one big round eye in the middle of the face — big is the magic word here, because large eyes are what make baby animals look adorable. Fill it in dark but leave a tiny white circle uncolored inside; that little sparkle is the difference between "drawing of a hedgehog" and "hedgehog that loves you."
Add a smiling mouth under the snout — a simple curved line works perfectly — and a tiny rounded ear where the face meets the quills. A few dots on the cheek suggest whisker freckles, and a small blush circle under the eye pushes the cuteness straight into kawaii territory.
Step 5 — Add feet and quill lines
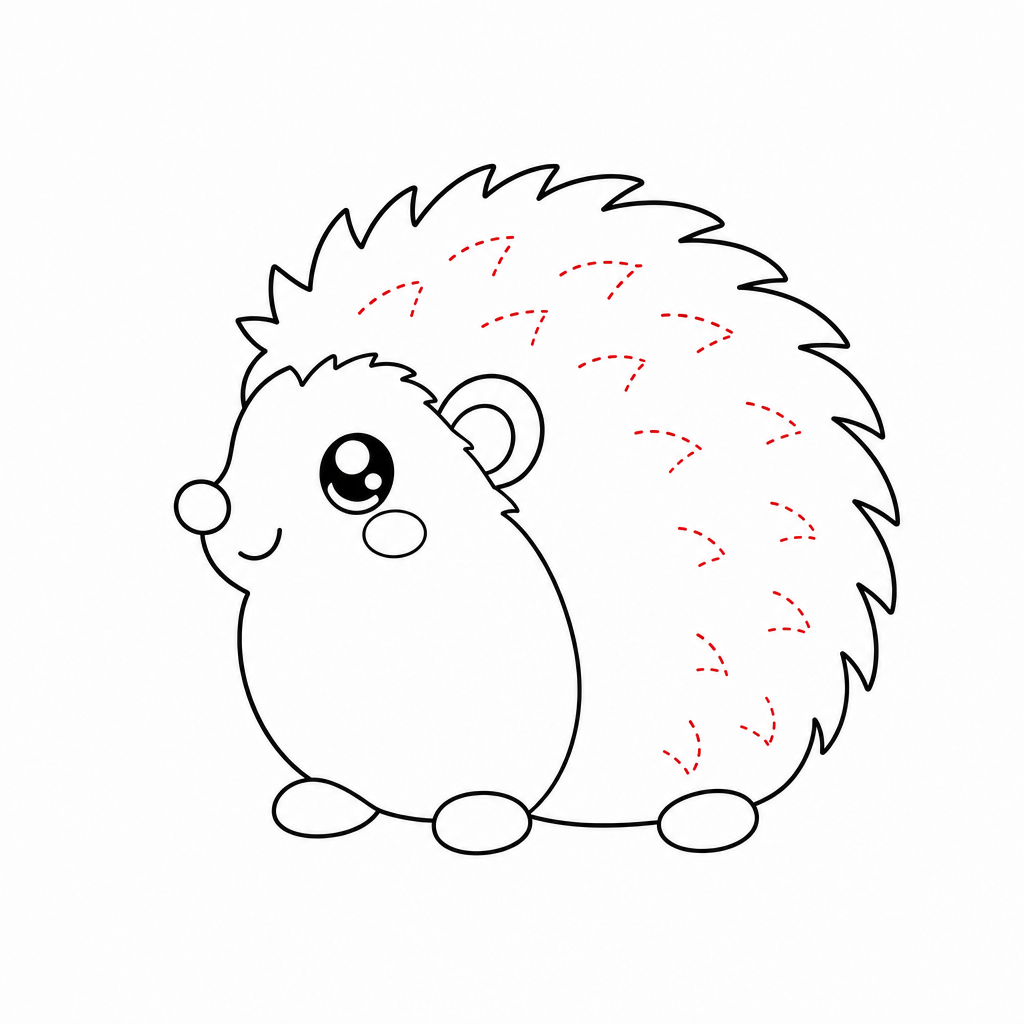
Under the body, draw four stubby little feet — two ovals peeking out at the front, two at the back. Hedgehog legs are famously short, so resist the urge to give them any length at all; the body should look like it's hovering just above the ground on tiny marshmallows.
Then add texture to the back: a handful of short strokes inside the zigzag outline, all leaning the same direction, like sprinkles on a cupcake. Five to ten strokes are plenty. This tiny bit of texture makes the whole back read as "hundreds of quills" without you having to draw hundreds of anything.
Step 6 — Finish and color
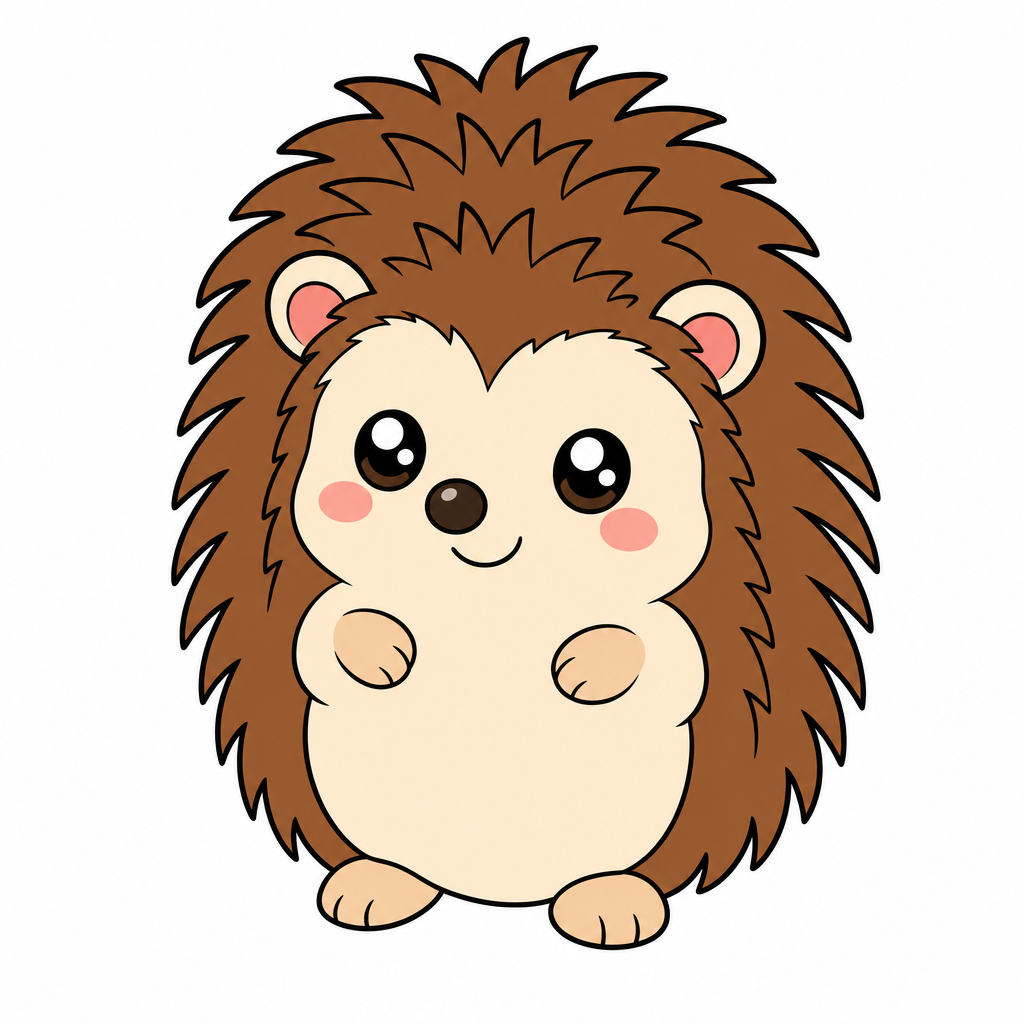
Go over your favorite lines with darker pencil pressure or a fine marker, and gently erase the leftover scaffolding from the early steps. Watch the hedgehog pop off the page as the construction lines disappear — this is the most satisfying ten seconds of the whole tutorial.
Then color! The classic scheme is warm brown quills with a cream or tan face and belly, plus a pink nose and blush cheeks. But hedgehogs also look amazing in autumn orange, soft gray, or complete fantasy colors — a mint-green hedgehog with a purple nose is a masterpiece, not a mistake. Add a few fallen leaves or a tiny mushroom next to it for a storybook finish.
Common mistakes to avoid
Making the quills too long
This is the number one hedgehog hazard. Long spikes read as "porcupine" or, worse, "cactus with eyes." The fix is simple: keep every zigzag bump shorter than the hedgehog's eye is wide, and round the points just a little.
If you've already drawn long spikes, don't start over — just draw a second zigzag line closer to the body and erase the outer one. Your hedgehog instantly deflates to a friendlier fluffiness.
Drawing the snout too big
A snout that takes up half the face turns your hedgehog into an anteater. The snout should be small — roughly a quarter of the face area — with the nose sitting right at its tip.
Before you draw it, lightly mark where the snout should end. It feels too small. It's correct. A tiny snout under a big forehead is the exact recipe for maximum cuteness.
Pressing too hard too early
Dark, heavy lines in steps 1–3 are nearly impossible to erase cleanly, and the quill outline needs the old egg line to vanish underneath it. The first steps should be whisper-light — light enough to erase with two swipes.
Save the confident dark strokes for step 6, when you know exactly which lines deserve them. Light lines are drafts; dark lines are decisions.
Troubleshooting
"My hedgehog looks like a porcupine"
Quill length is almost always the culprit. Erase the longest spikes and redraw them as short, tight bumps hugging the body. Then make the eye bigger — a big sparkly eye softens even the spikiest back.
"The face looks scary instead of cute"
Check three things: the eye should be big with a white sparkle, the mouth should curve up into a smile, and nothing on the face except the snout tip should be pointy. Round shapes are friendly; sharpen only the quills.
"My lines are wobbly"
Wonderful news: on a hedgehog, wobbly lines are camouflage. The spiky back swallows every imperfection. If a wobble bothers you anyway, try drawing faster — slow careful strokes wobble more because your hand micro-corrects the whole way.
Key takeaways
- A hedgehog is one egg, one tiny snout and a zigzag blanket — the quills hide every wobble.
- Short rounded bumps mean "cute hedgehog"; long sharp spikes mean "angry cactus."
- One big sparkly eye placed low and close to the snout does most of the cuteness work.
- Draw light until step 6 — the egg outline must erase cleanly under the quills.
- A few leaning strokes inside the back suggest hundreds of quills with almost no effort.
- Draw it twice — hedgehog number two will amaze you.
FAQ
What age is this hedgehog drawing tutorial for? It works beautifully for kids 5 and up with a little help, and children 7+ can usually follow the six steps on their own. Beginner adults love it too — the spiky back is surprisingly relaxing to draw.
How do I make the quills look spiky but still cute? Use short, rounded zigzag bumps instead of long sharp spikes. Rounded points read as soft and friendly, while needle-like spikes make the hedgehog look grumpy.
What materials do we need? Just a pencil, an eraser and paper. Brown, tan and cream crayons make the final step extra fun, but a pencil-only hedgehog is still a great hedgehog.
My hedgehog looks like a porcupine. Help? The quills got too long. Redraw the back with short, tight zigzag bumps that hug the body — hedgehog quills are a cozy blanket, not an explosion.
Keep drawing! 🦔
If your young artist is hooked, our step-by-step drawing book is the top pick in our studio — 320 animals taught in the same easy 6-step style as this tutorial. Pair it with a chunky set of washable markers and a spiral sketchpad (spiral bindings lie flat, which little hands love), and quiet afternoons take care of themselves.
Get the book on AmazonYou did it! One egg, one pointy snout and a zigzag later, there's a hedgehog blinking up at you from the page. Stick it on the fridge, draw it a leafy snack tomorrow, and remember: every artist you've ever admired started exactly like this — one spiky, wonderful hedgehog at a time.
More tutorials: All tutorials · How to draw a lion · How to draw a frog · How to draw a ladybug