How to draw a frog — easy step by step drawing ideas
If you're hunting for frog drawing ideas that guarantee giggles, hop right in — you've landed on the perfect lily pad. Frogs are my favorite "instant success" animal to teach, because a cartoon frog is really just a friendly green blob with two bumps on top — and I've watched five-year-olds finish one and immediately start a second before I've even explained step six. Learning how to draw a frog might be the fastest win in all of animal drawing.
I'll never forget the workshop where one little girl drew her frog with an enormous grin stretching right off both sides of the face. I started to explain that smiles usually stay inside the outline, then stopped myself — because her frog looked delighted, and everyone who saw it laughed out loud. Frogs forgive everything. Wobbly lines look like bumpy frog skin, uneven eyes look curious, and a too-big smile is just extra happiness.
In this tutorial we'll build our frog in six easy steps, exactly like the practice sheet below. I'll share the pro tips I use in real workshops, the mistakes I see most often (and how to dodge them), and quick fixes for the classic frog wobbles. Grab a pencil and something green, and let's draw.
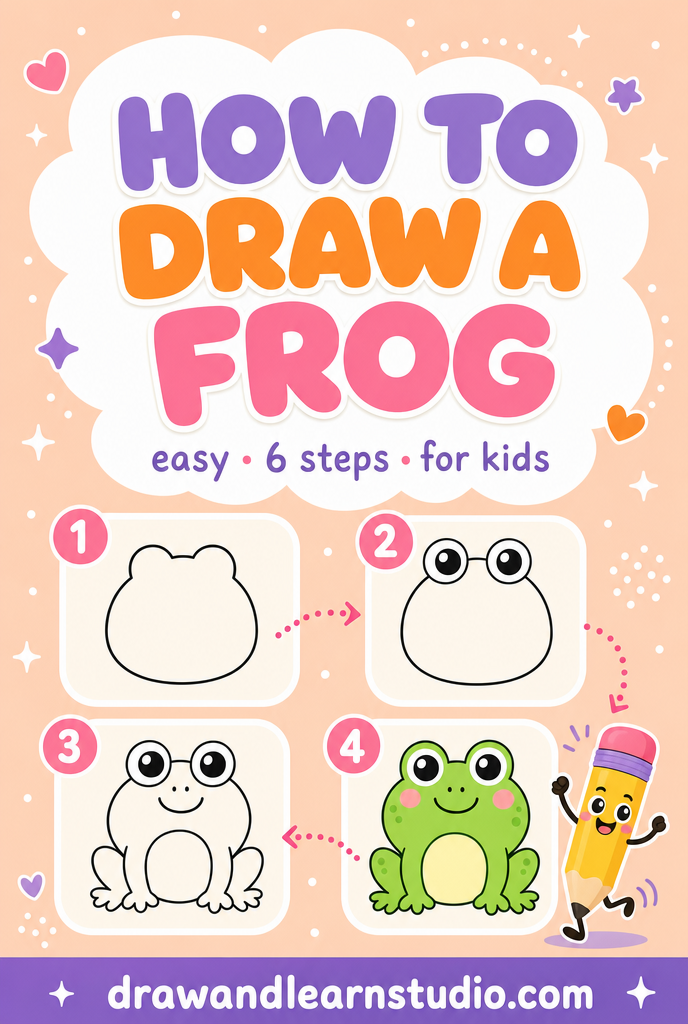
⏱️ Time: 15–20 minutes
⭐ Difficulty: beginner — great for kids 5+
✏️ Materials: pencil, eraser, paper, green and pink crayons or markers
The 6 steps to easy frog drawing ideas
Step 1 — Draw the body blob
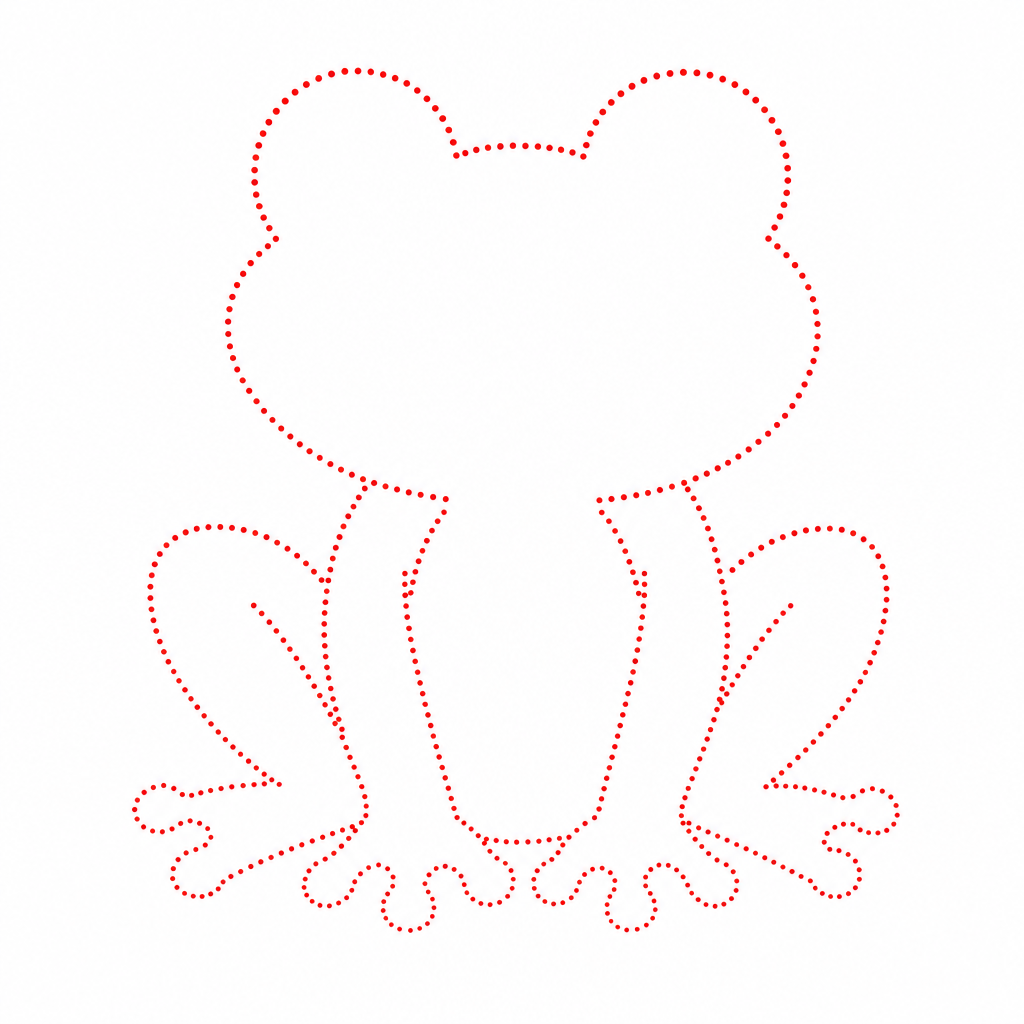
Start with one wide, soft oval in the middle of your paper — flatter on the bottom, rounded on top, like a bread roll or a squished marshmallow. This single shape is the frog's entire body AND head in one, which is exactly why frogs are so beginner-friendly: there's no neck to negotiate, no tricky proportions, just one happy blob.
Keep your pencil light and loose, and make the blob wider than it is tall. A wide frog reads as a sitting frog, which is the classic storybook pose. If your blob comes out lumpy, congratulations — frogs are lumpy. This is the most relaxed first step you'll ever draw.
Step 2 — Add the eye bumps
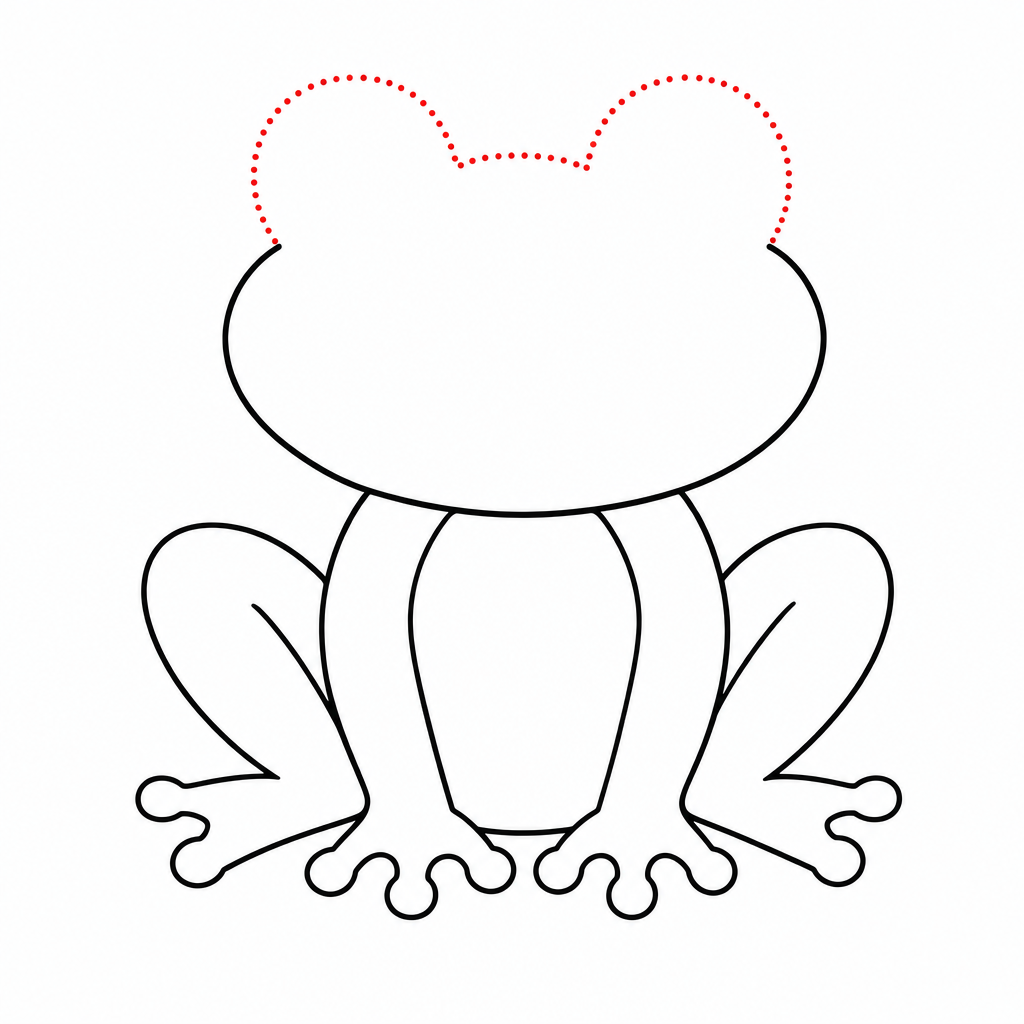
Draw two round bumps sitting on top of the body, like two little hills on a green horizon. This is the step that makes a frog a frog — those periscope eyes peeking over the top are the single most recognizable frog feature, more important than the color, the legs, or even the smile.
Space the bumps apart so there's a little valley between them, and let each bump overlap the body outline slightly — you'll erase the seam later. Bumps that are about a third the height of the body give the cutest proportions.
Step 3 — Draw the big eyes
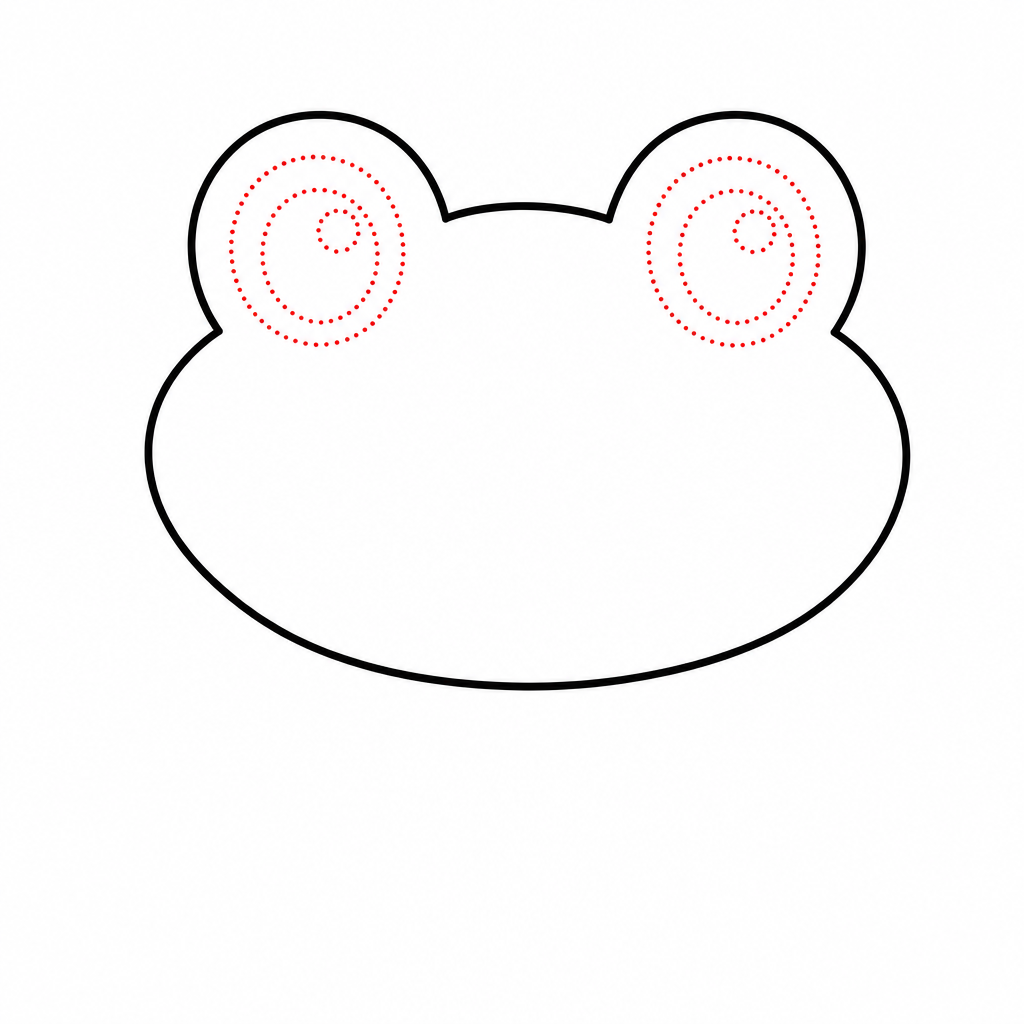
Inside each bump, draw a big circle nearly filling it, then a dot pupil in the middle of each. Now the most important two millimeters of the whole drawing: leave a tiny white shine spot in each pupil, or add it with a white crayon at coloring time. That little sparkle is the entire secret of cute.
Pupils looking straight ahead make a calm, friendly frog. Both pupils shifted to one side make a frog that just noticed a fly — instantly funnier. Let your artist try both on scrap paper; the fly-watcher version usually wins by unanimous giggle.
Step 4 — Add the smile and belly
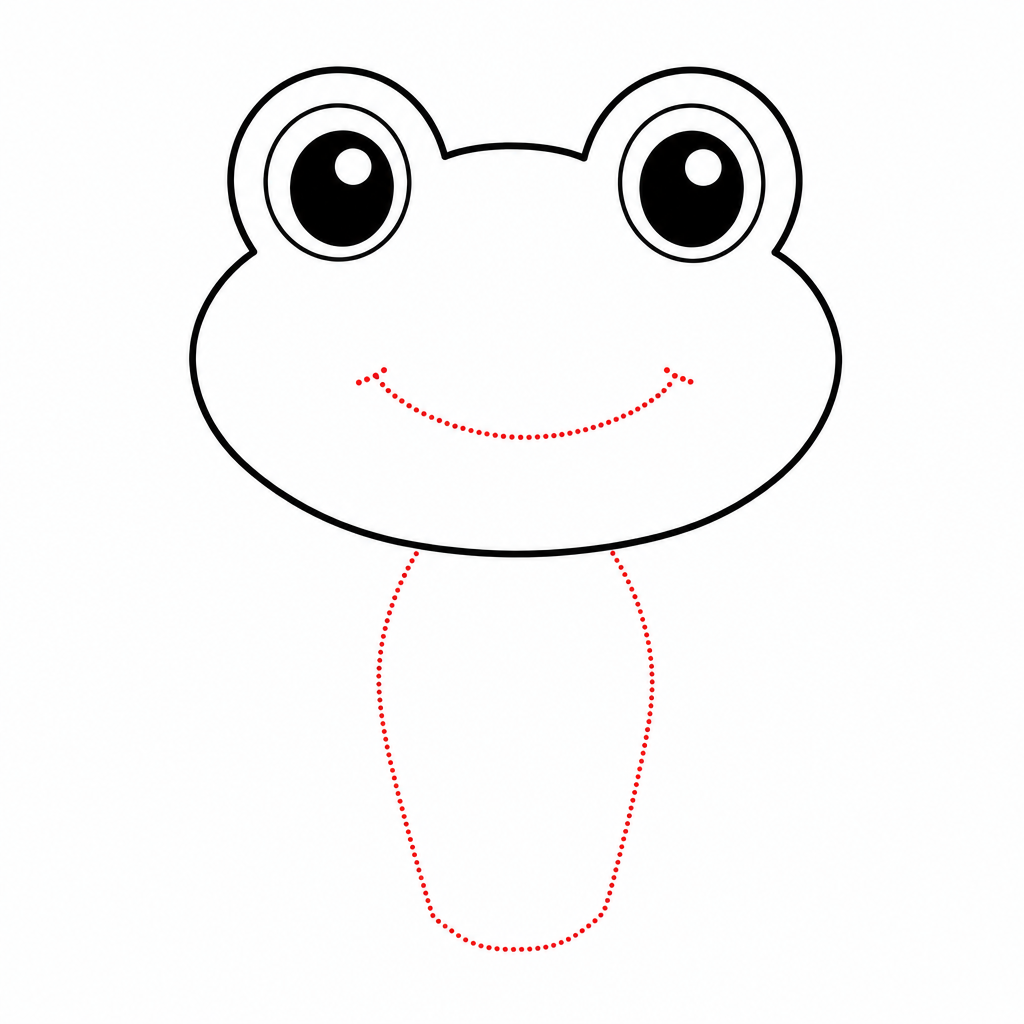
Draw one wide, curved smile across the face, starting below one eye bump and sweeping to below the other. Frog smiles are the widest in the animal kingdom, so be brave — a timid little smile looks unsure, but a big banana-curve grin looks perfectly, happily froggy.
Below the smile, draw a big U-shaped line from one side of the body to the other to mark the belly patch. This one line does a lot of quiet work: it separates the frog's cream belly from its green back and makes the whole drawing look intentional and finished.
Step 5 — Add the little legs
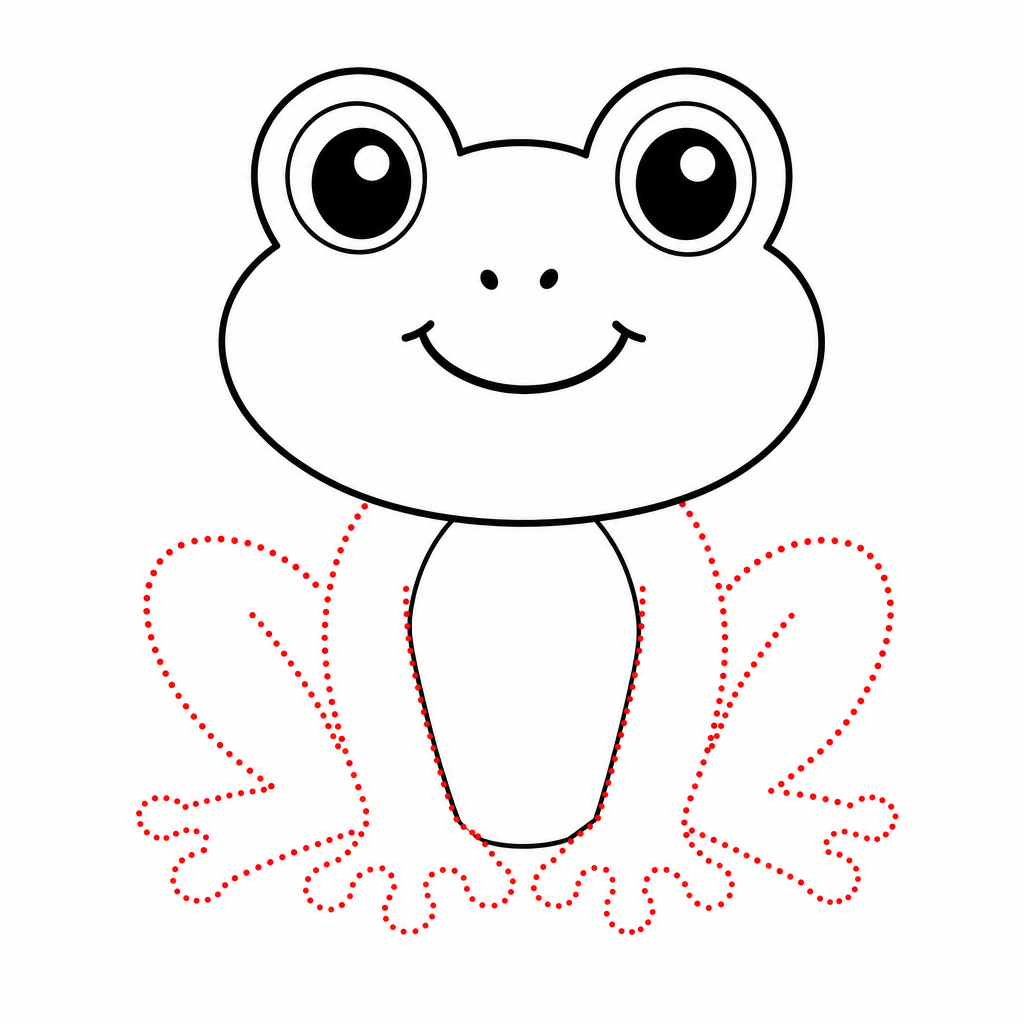
Draw two folded front legs tucked under the belly — simple short curves ending in little rounded toes, like the frog is politely sitting on its hands. Then add the famous back legs: one wide, flat foot sticking out on each side of the body, each with three rounded toes.
Don't overthink the anatomy. Cartoon frog legs are suggestions, not diagrams — two curves and some toes read perfectly as "frog sitting down." The wide back feet are what ground your frog and make it look stable and content on its lily pad.
Step 6 — Finish and color
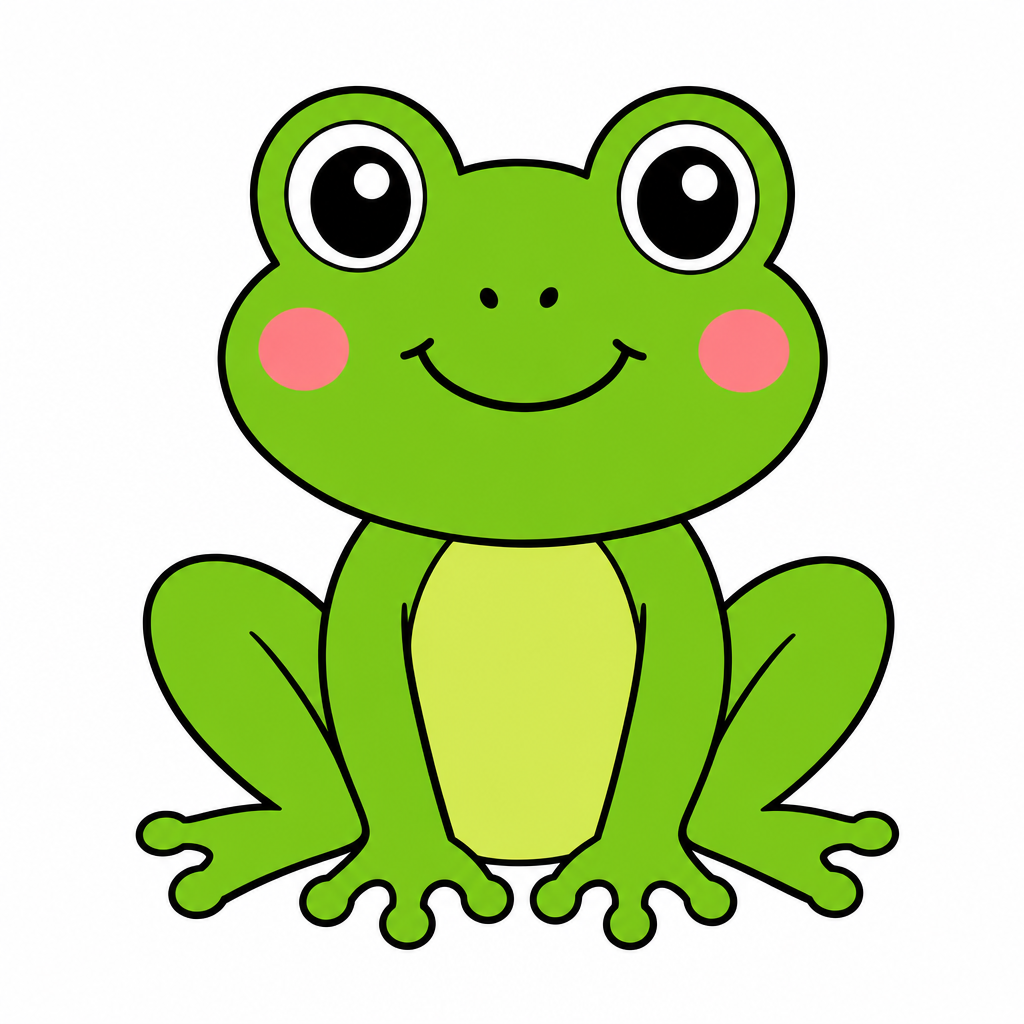
Darken your favorite lines, erase the light scaffolding underneath, and bring out the colors: bright happy green for the back and legs, soft cream or pale yellow for the belly, pink for the blush cheeks. Press gently in layers — two light passes of crayon look smoother than one hard scrub, and the paper stays flat.
Want to level it up? Add a few darker green spots on the back (real frogs wear polka dots!), a lily pad under the feet with one simple leaf shape, or a tiny fly circling one eye. Sign your name — every finished drawing deserves a signature.
Common mistakes to avoid
Putting the eyes inside the face
Eyes drawn in the middle of the blob — like a person's — turn the frog into a green potato with a face. Frog eyes belong ON TOP, in their own bumps, peeking over the body like two periscopes.
If it's already happened, no erasing marathon needed: just add the two bumps on top anyway and put a second, bigger pair of eyes in them. The old eyes become nostrils or spots, and nobody will ever know.
Making the smile too small
A tiny, cautious smile gets lost on that big wide face and makes the frog look worried. The smile should stretch most of the way across the body — frogs are committed to their grin.
Fix it by simply extending the line you already have: push each end of the smile outward and slightly up. You don't need to erase the short version; the longer curve absorbs it completely.
Pressing too hard too early
Dark, heavy pencil lines in steps 1–3 are nearly impossible to erase, and every frog needs a little adjusting — especially the seams where the eye bumps meet the body. Sketch light, like the pencil is barely awake.
If the lines are already dark, press a kneaded eraser (or a regular one, gently rolled) onto them instead of rubbing — it lifts graphite without tearing the paper or turning your pond scene gray.
Troubleshooting
"My frog looks like a blob with eyes!"
You're actually on schedule — that's exactly what steps 1–3 look like. The frog magic arrives in step 4: the wide smile and belly line are what flip the switch from "blob" to "frog." Finish the steps before judging the frog.
"The two eye bumps look uneven"
Turn the paper upside down — your brain stops auto-correcting and you'll instantly see which bump needs growing. Always grow the smaller bump rather than shrinking the bigger one. And honestly? Slightly uneven eyes make a frog look charmingly curious.
"The green marker went over my belly line"
Happens to everyone. Turn the overshoot into a design: add a few more green spots inside the belly and call them freckles, or outline the belly again with a darker green so the boundary reads clearly. Frogs don't mind irregular borders — that's camouflage.
Key takeaways
- A frog is one wide blob plus two bumps on top — the eyes-on-top silhouette does all the work.
- Big eyes with tiny white shine spots are the whole secret of a cute frog face.
- Be brave with the smile: a wide banana-curve grin is what makes it look happily froggy.
- One U-shaped belly line instantly makes the drawing look finished and professional.
- Sketch light first, darken your favorite lines at the end, and color in gentle layers.
- Drawing the same frog three times is the fastest way to get visibly better today.
FAQ
What age is this frog drawing tutorial for? The six-step version works for ages 5 and up with a little help, and kids around 7+ can follow the sheet independently. Adults looking for relaxing drawing ideas are very welcome too.
Why does my frog look like a blob with eyes? Because that's the correct foundation! Add the wide smile, the belly line, and the two back feet — those three details are what turn a blob into an unmistakable frog.
What materials do we need? Just a pencil, an eraser, paper, and something green to color with. Crayons are the most forgiving for young kids; markers make the boldest, brightest frogs.
How do I draw the eyes so they look cute? Make them big — at least a third of the head — place them in the bumps on top, and always leave a tiny white shine spot in each pupil. Big shiny eyes are the whole secret of cute.
Keep drawing! 🐸
If your young artist is hooked, our step-by-step drawing book is the top pick in our studio — 320 animals taught in the same easy 6-step style as this tutorial. Pair it with a chunky set of washable markers and a spiral sketchpad (spiral bindings lie flat, which little hands love), and quiet afternoons take care of themselves.
Get the book on AmazonThat's your frog! Whether it came out storybook-neat or wonderfully wobbly, you made a whole cheerful character from one blob and two bumps — and that deserves a proud spot on the fridge. Keep the sheet handy, draw a whole pond chorus, and come back tomorrow for a new tutorial.
More tutorials: All tutorials · How to draw a lion · How to draw a ladybug · How to draw a dolphin