How to draw a sloth — easy step by step drawing ideas
If you're searching for sloth drawing ideas, settle in and slow down — you've found the most relaxed tutorial in our whole studio. Learning how to draw a sloth is wonderfully low-pressure, because a sloth is basically a smiling furry comma hanging from a stick. Nothing about a sloth is precise. Nothing about a sloth is in a hurry. It is, in every way, the perfect animal for beginners.
Here's my promise: by the end of this tutorial you'll have a genuinely huggable sloth dangling happily from its branch, built from shapes you already know. We go one small step at a time — branch, head, body, arms, face, color — with a picture under every step so you can check your drawing as you go. If your lines come out slow and wobbly, congratulations: that's exactly how a sloth would draw.
I've taught this sleepy friend to kindergartners, to grown-ups on their lunch break, and to one classroom that voted to name him "Speedy." Everyone leaves calmer than they arrived. So find a comfy chair, sharpen a pencil at whatever pace feels right, and let's hang out — literally — with the gentlest animal in the rainforest.
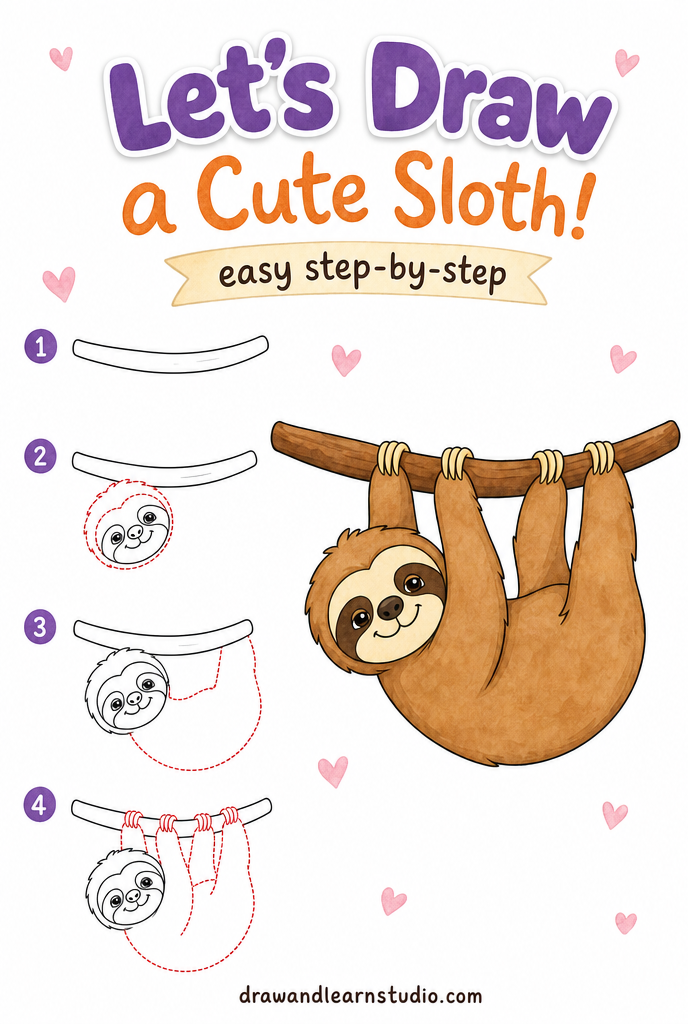
⏱️ Time: 15–20 minutes
⭐ Difficulty: beginner — great for kids 5+
✏️ Materials: pencil, eraser, paper, brown and tan crayons or markers
Sloth drawing ideas: the 6 easy steps
Step 1 — Draw the branch
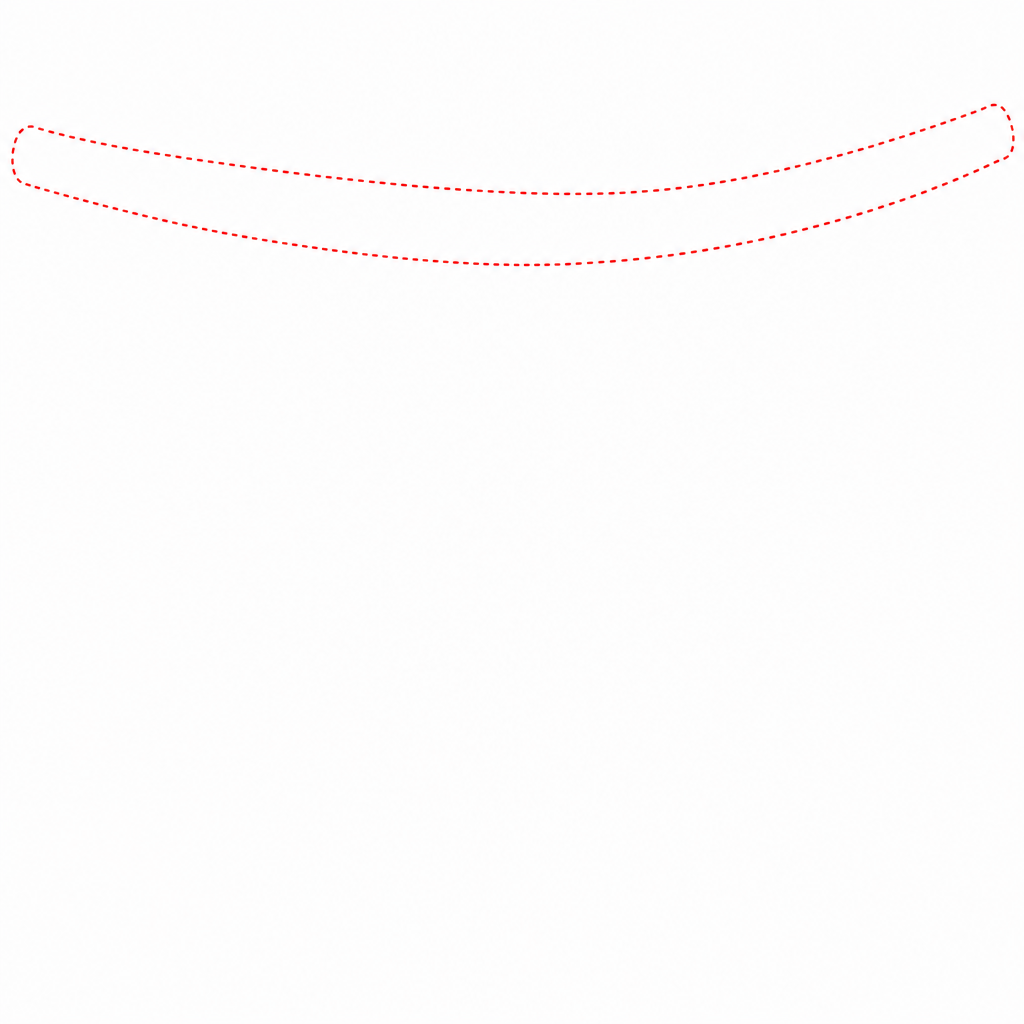
Unusually for our tutorials, we start with the furniture: draw a gently curved line across the top third of your paper, then a second line just below it, and connect the ends. That's the branch — the sloth's bed, sofa, dining room and gym all in one. A slight downward sag in the middle is perfect; branches bend where sloths hang.
Press lightly and don't fuss over it. A branch is allowed to be knobbly, so any bumps in your line are officially "bark texture." Leave the bottom two-thirds of the paper completely empty — that's where our sloth will spend the rest of the tutorial dangling in comfort.
Step 2 — Draw the head
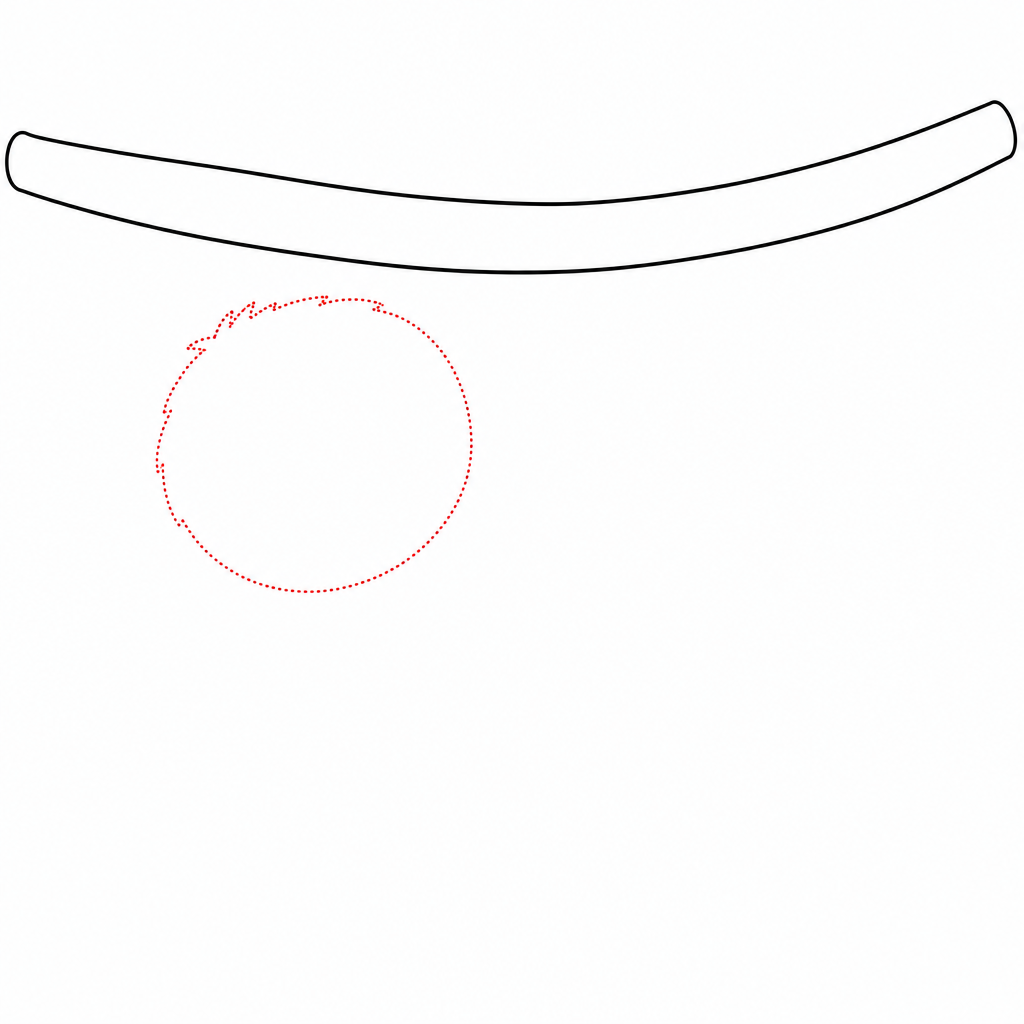
Below the branch and a little to one side, draw a big round circle for the head. Press lightly — this is scaffolding. The head should hang clearly below the branch with a gap in between; the arms will bridge that gap soon.
Make the head generous, just like our cat and axolotl. Cute sloths are mostly head, fluff and feelings. If your circle came out slightly squashed or lumpy, keep it — sloth fur is shaggy, and a bumpy outline is a fluffy outline in disguise.
Step 3 — Draw the body
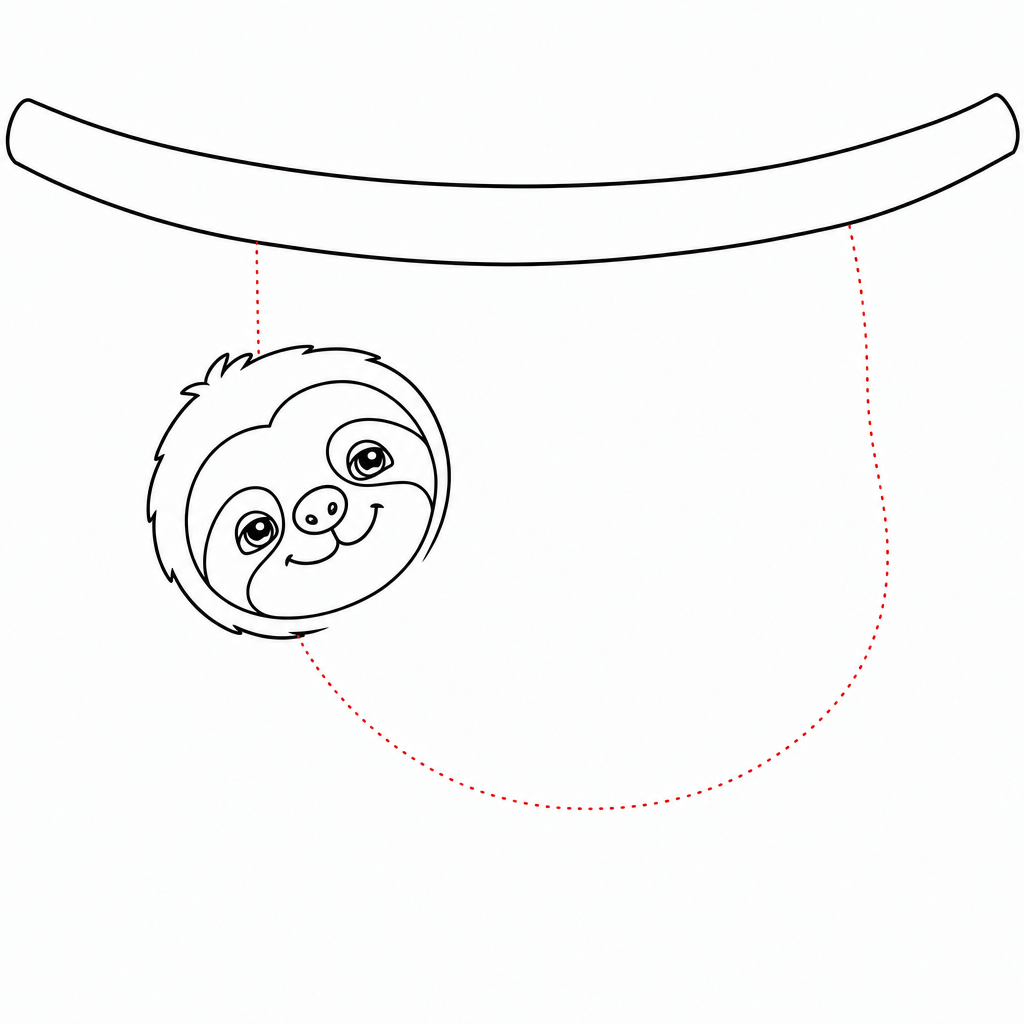
From the head, draw a long rounded body curving down and away — like a plump banana or a cozy sleeping bag with ambitions. The body should hang at an angle rather than straight down, because a hanging sloth swings ever so slightly, and that gentle diagonal is what makes the pose feel real.
Let the head overlap the top of the body slightly; sloths, like cats, do not believe in necks. Keep the bottom end of the body rounded — sloths have almost no tail worth drawing, which is one less thing to worry about. By now you should have a branch, a ball, and a bean: three shapes, and the sloth is already half done.
Step 4 — Add the arms, legs and claws
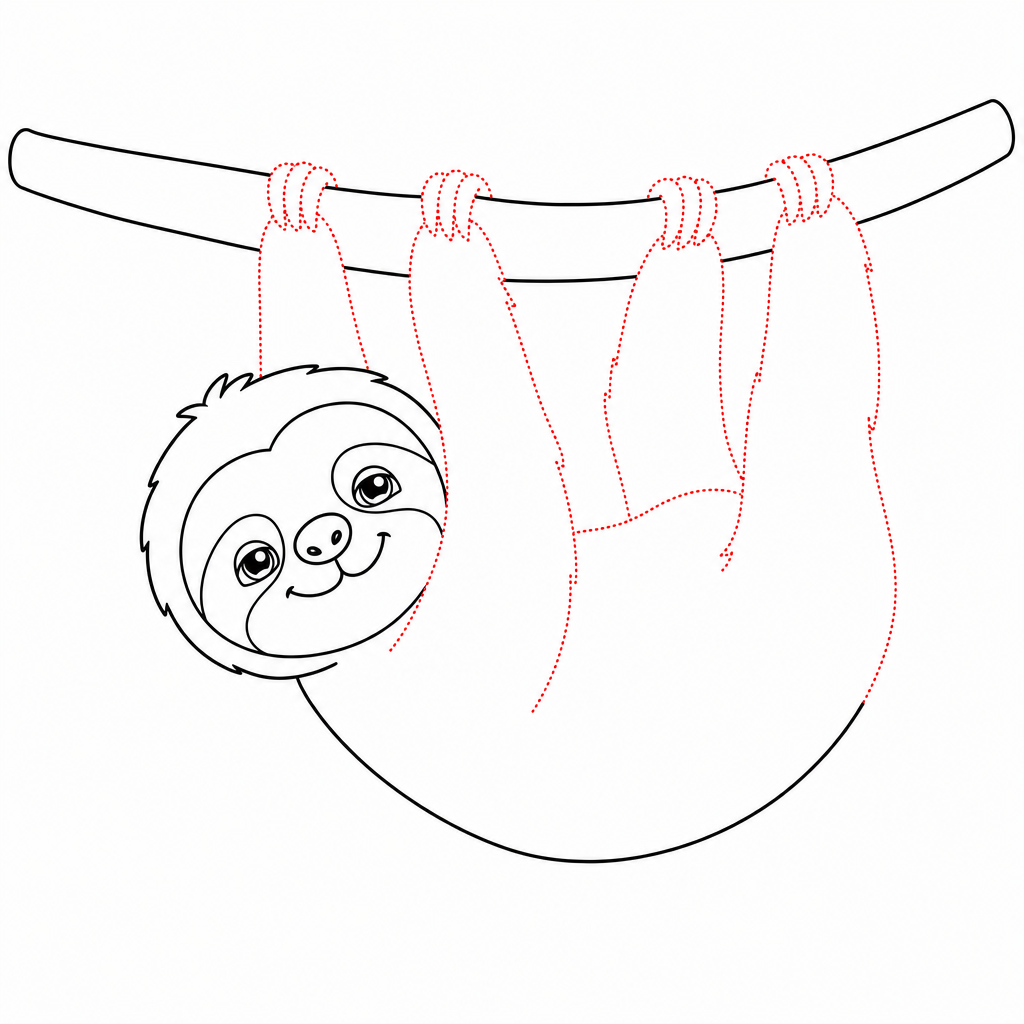
Now hang your sloth up. Draw two long arms reaching from the top of the body up to the branch — and make them longer than feels reasonable. Sloth arms are famously stretchy, and short arms are the number-one reason drawn sloths fall off their branches (artistically speaking). Then add one or two legs reaching up from the lower body to grip the branch further along.
Finish each arm and leg with claws: two or three long, curved hooks that wrap right over the top of the branch. Real sloths hang by these amazing hook-claws without any effort at all. Draw the claws actually curling over the branch line — that overlap is the magic detail that makes the hanging pose completely convincing.
Step 5 — Give it that sleepy, smiley face
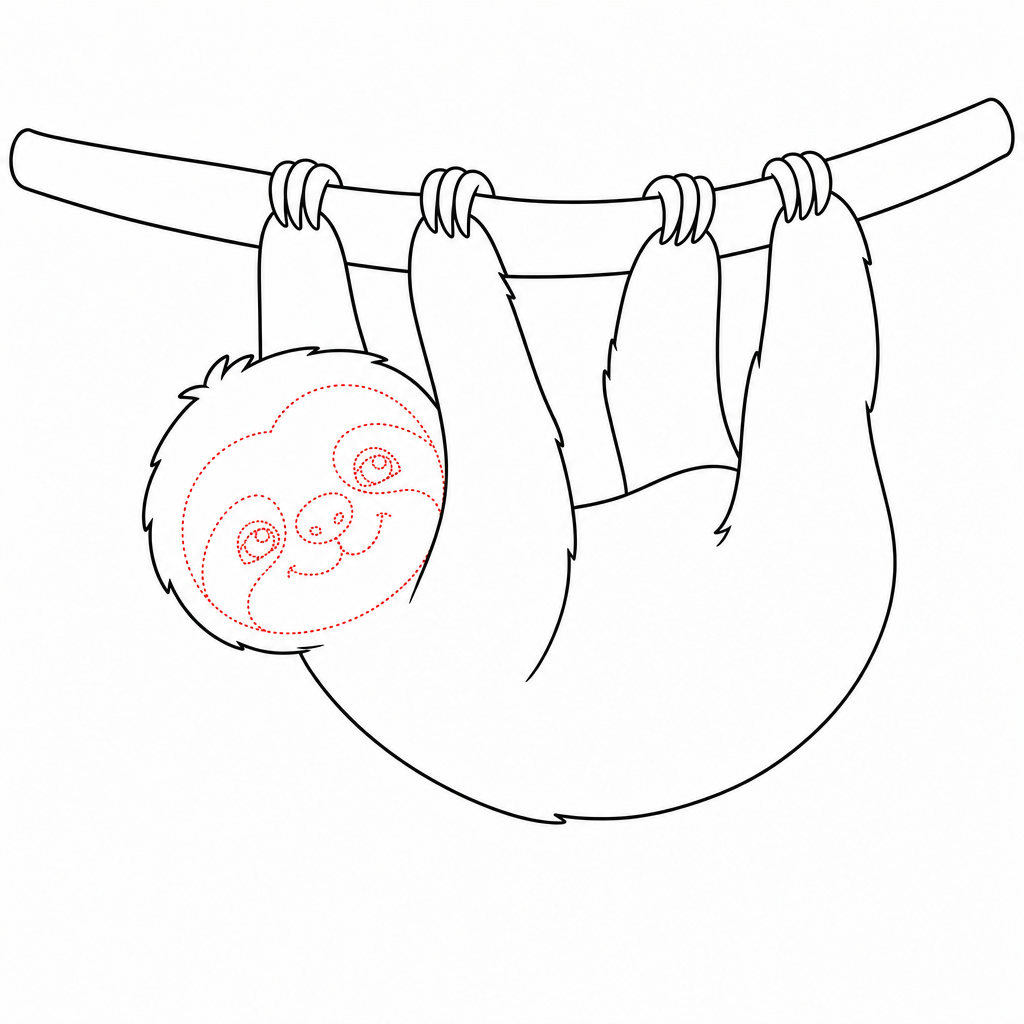
First, draw a big rounded patch inside the head — this is the sloth's smooth tan face, sitting inside its fluffy fur like a cookie on a cushion. Then add the sloth's signature feature: a dark stripe sweeping from each eye out toward the edge of the face, like a pair of friendly sunglasses that melted slightly.
Inside the patch, draw two small, calm eyes — little dark ovals, or gentle half-closed curves if you want maximum sleepiness. Add a small dark button nose in the middle, set a bit low, and under it the famous sloth smile: one wide, serene curve. Sloths always look like they've just remembered something lovely. Two tiny blush circles on the cheeks complete the effect. No ears needed — sloth ears hide in the fluff.
Step 6 — Finish and color
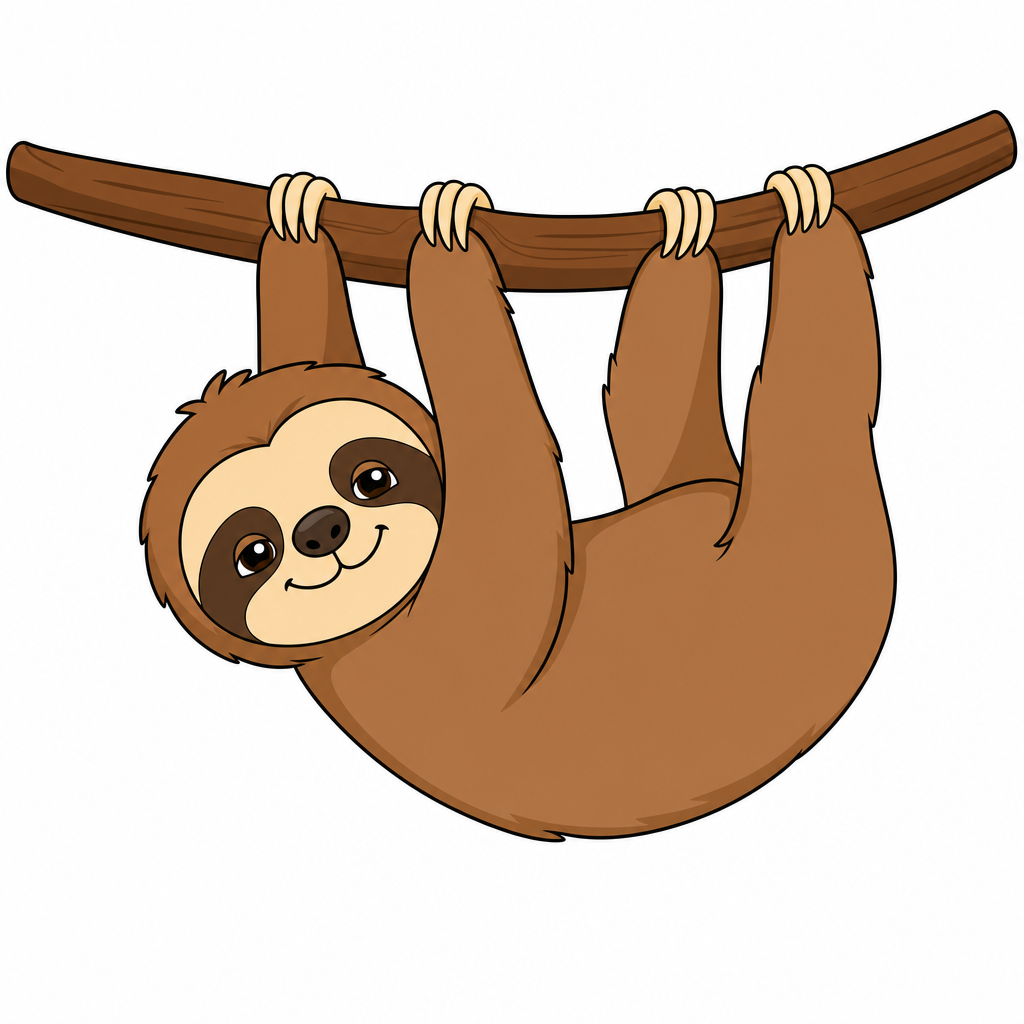
Go over your favorite lines with darker pencil pressure or a fine marker, and gently erase the scaffolding — especially the branch line hiding behind the claws and any head circle peeking through the face patch. As the construction lines vanish, your sloth settles into its branch for a well-earned rest.
Then color, slowly, as is traditional. Soft brown or gray-brown for the body, warm tan for the face patch, darker chocolate brown for the eye stripes and claws, and rich brown for the branch. Add a few short pencil strokes along the body's outline for shaggy fur, a green leaf or two on the branch, and maybe a tiny yellow sun in the corner — sloths appreciate good weather. A greenish tint on the back is extra-credit realism: real sloths grow a little algae in their fur, which is either gross or wonderful depending on who you ask.
Common mistakes to avoid
Drawing the arms too short
Short arms are the classic sloth mistake — the poor thing ends up floating near its branch instead of hanging from it. Sloth arms should look almost comically long, easily as long as the whole body.
If your arms came up short, don't erase everything: extend the branch downward to meet the claws instead, or lengthen the arms past where they "should" end. Nobody has ever looked at a sloth drawing and said "those arms are too long."
Forgetting the eye stripes
Without the dark stripes sweeping from the eyes, a sloth face is just a vague bear-monkey situation. The stripes plus the tan face patch are what make a sloth read as a sloth from across the room.
Add them even if the face is already drawn — they layer neatly over finished eyes, and they instantly upgrade any sloth from "furry mystery" to "obviously a sloth."
Pressing too hard too early
Dark, heavy lines in steps 1–3 are nearly impossible to erase cleanly, and this drawing depends on scaffolding disappearing at the end. The first steps should be whisper-light — light enough to erase with two swipes.
Save the confident dark strokes for step 6, when you know exactly which lines deserve them. Light lines are drafts; dark lines are decisions. Sloths, of all animals, understand not rushing into commitments.
Troubleshooting
"My sloth looks like a monkey"
Three quick fixes: add the dark eye stripes, replace any hand-like fingers with two or three long curved claws, and erase visible ears — sloth ears hide completely in the fluff. Monkeys are all ears, fingers and mischief; sloths are all stripes, claws and calm.
"My sloth doesn't look like it's really hanging"
The secret is overlap: the claws must visibly wrap over the branch, not just touch it. Also check that the body hangs below the branch with the arms actually stretched — if the body floats up near the branch, lower it and lengthen the arms. Gravity is what sells the pose, and gravity is drawn with overlapping claws and stretched arms.
"My lines are wobbly"
Perfect. Sloths are shaggy, slow and slightly lopsided in real life, so wobbly lines are simply accurate. If a line bothers you, draw over it a little faster with one relaxed stroke — but honestly, on a sloth, the wobble is the style.
Key takeaways
- Branch first — the sloth's world decides the sloth's pose.
- A sloth is a ball, a bean and four stretchy arms: shapes every beginner owns.
- Arms should look almost too long, with claws that visibly wrap over the branch.
- Tan face patch + dark eye stripes = instant sloth, recognizable from across the room.
- No ears, no tail, no neck, no hurry — sloths are wonderfully low-maintenance.
- Draw light until step 6, then commit — slowly, of course.
FAQ
What age is this sloth drawing tutorial for? Kids 5 and up can follow along with a little help, and children 7+ usually manage all six steps solo. Sloths are slow and forgiving by nature — there are no sharp angles, no tricky details, and no hurry.
Why do we draw the branch first? The branch is the sloth's whole world — it decides where the arms reach and where the body hangs. Drawing it first means the sloth ends up hanging naturally, instead of you trying to squeeze a branch into whatever space is left.
What are the dark marks around a sloth's eyes? Those are natural fur markings — dark stripes that sweep from each eye toward the sides of the face, like friendly sunglasses. Together with the tan face patch, they're the sloth's most recognizable feature and the key to a convincing drawing.
My sloth looks like a monkey. Help? Check three things: the eye stripes, the claws and the ears. Sloths have dark eye markings, two or three long curved claws instead of fingers, and almost invisible ears. Add the stripes, turn hands into claws, erase any big ears, and the sloth comes right back.
Keep drawing! 🦥
If your young artist is hooked, our step-by-step drawing book is the top pick in our studio — 320 animals taught in the same easy 6-step style as this tutorial. Pair it with a chunky set of washable markers and a spiral sketchpad (spiral bindings lie flat, which little hands love), and quiet afternoons take care of themselves.
Get the book on AmazonYou did it — and there was no rush at all. One branch, one ball, one bean and four stretchy arms later, there's a sloth smiling down at you from its branch like it's been waiting all day just to see your drawing. Stick it on the fridge, add a leafy friend tomorrow, and remember: every artist you've ever admired started exactly like this — one slow, happy, huggable sloth at a time.
More tutorials: All tutorials · How to draw a butterfly · How to draw a dragon · How to draw a hamster